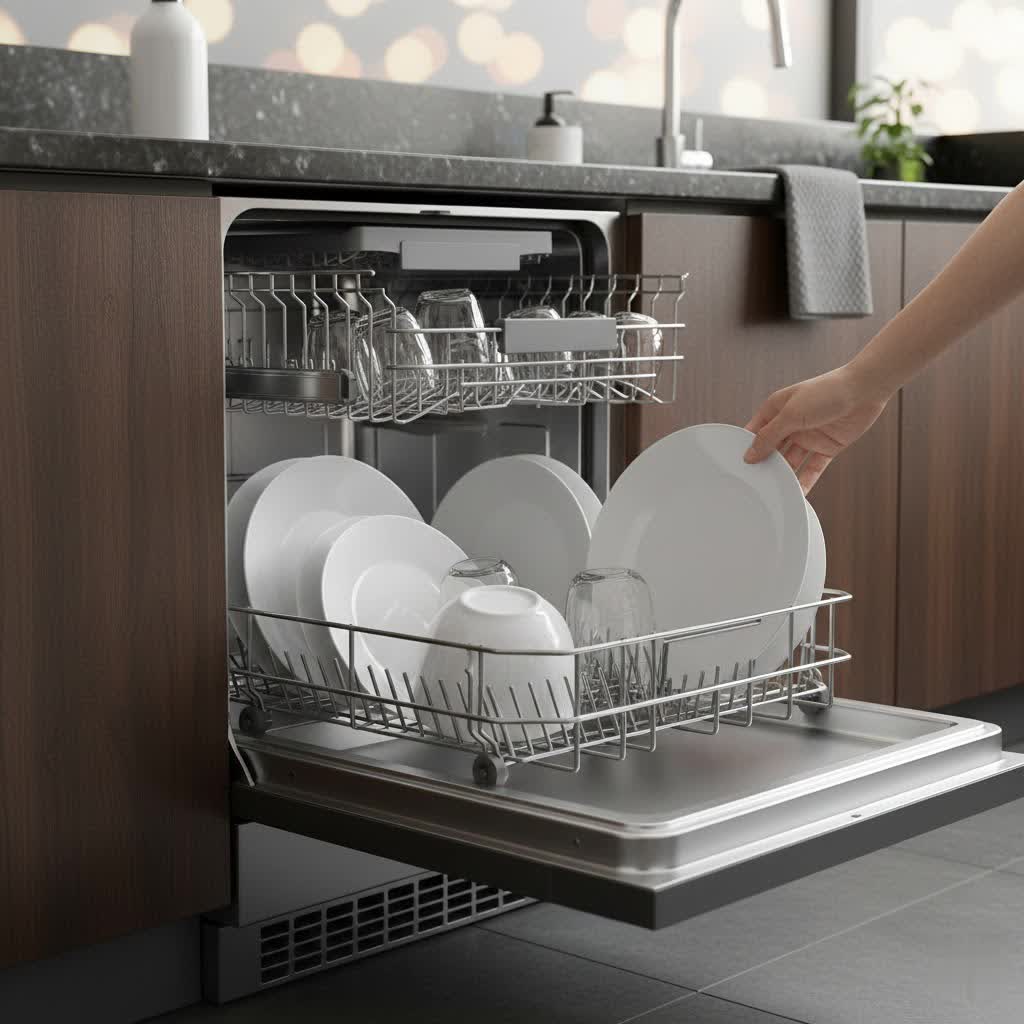
The whirring starts, the lights are on, but a sinking feeling tells you something is wrong: your dishwasher isn’t filling with water. Instead of the satisfying whoosh of water entering the tub, there’s silence, leaving you with a load of dirty dishes and growing frustration. A dishwasher that refuses to fill effectively becomes an expensive drying rack, disrupting your kitchen routine and leaving you wondering what went wrong.
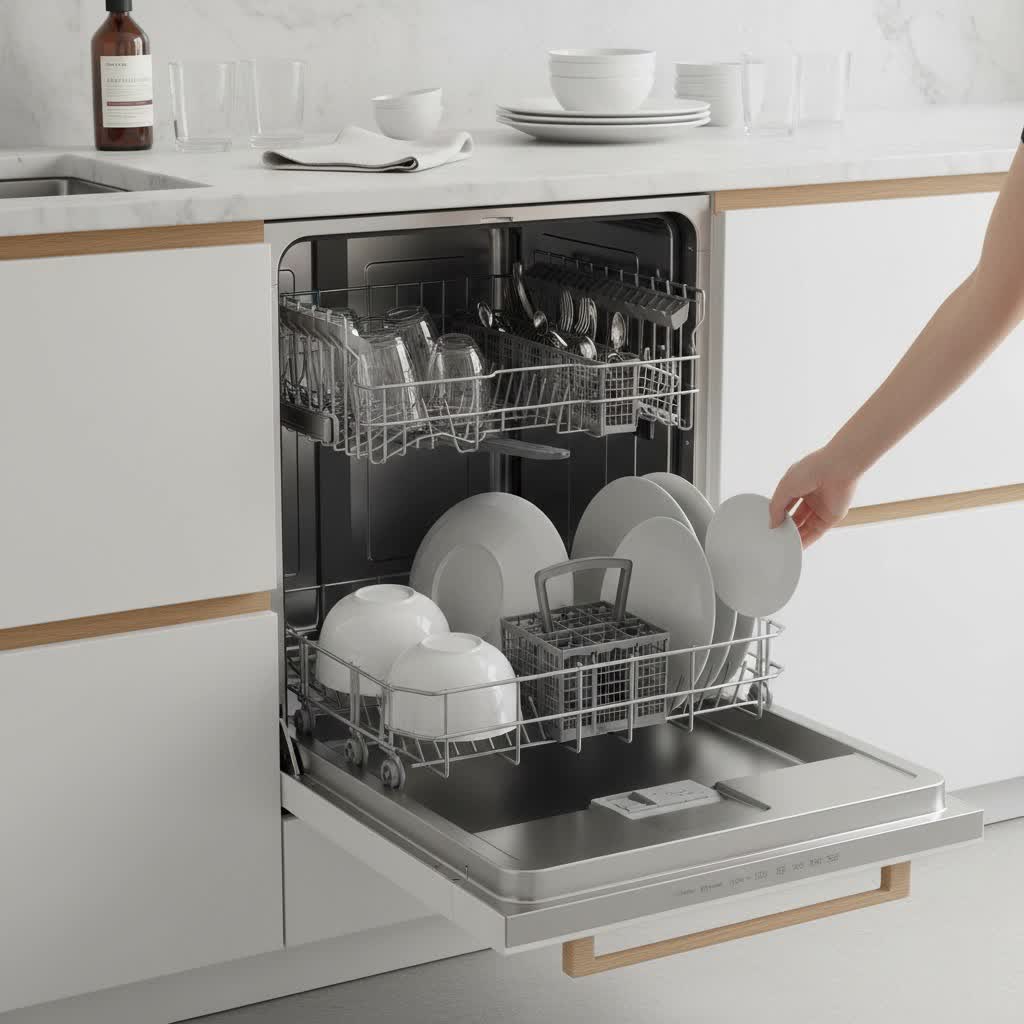
Fear not, for many common reasons behind a “no water” dishwasher issue are simple to diagnose and often fix yourself. This comprehensive guide will walk you through a step-by-step troubleshooting process, from the easiest checks to more advanced component inspections. By the end, you’ll be equipped to identify the root cause of your dishwasher’s reluctance to fill and either restore its function or confidently know when it’s time to call in a professional. Let’s get your dishwasher back to doing what it does best: delivering sparkling clean dishes.
Understanding Your Dishwasher’s Water Flow System
Before diving into fixes, it’s helpful to understand how your dishwasher typically receives water. Water first enters through a dedicated water supply line, usually connected to your kitchen’s hot water. This line feeds into the water inlet valve, an electrically controlled gate that opens to allow water into the machine. Inside the dishwasher tub, a float switch acts as an overfill protection mechanism, signaling the control board to stop the water flow once the desired level is reached. Finally, after the wash cycle, a drain pump expels the used water through the drain hose. Any disruption at these critical points can prevent your dishwasher from filling properly.
Safety First: Essential Precautions Before You Begin
Working with appliances involves both water and electricity, making safety paramount. Before you start any troubleshooting, always follow these crucial steps:
- Disconnect Power: Locate your home’s main electrical panel and turn off the circuit breaker that supplies power to your dishwasher. This prevents accidental electrical shock.
- Shut Off Water Supply: Find the water shut-off valve for your dishwasher, typically located under the kitchen sink, and turn it clockwise until it’s fully closed. This prevents any water leaks during inspection or repair.
- Gather Tools: Have basic tools like a flashlight, screwdriver (Phillips and flathead), a multimeter (for advanced checks), and dry towels ready.
Initial & Common Checks: The Easiest Fixes
Many “no water” issues stem from simple oversights or minor obstructions. Start with these straightforward checks before moving on to more complex diagnostics.
Verify Water Supply
It might sound obvious, but it’s often the culprit.
- Is the Water Supply Valve Fully Open? Look under your kitchen sink for a small valve on the water line connected to your dishwasher. Ensure it’s turned completely counter-clockwise to the “on” position. Sometimes, it gets accidentally turned off during cleaning or other plumbing work.
- Check for Kinks or Obstructions: Follow the water supply hose from the wall valve to the dishwasher. Ensure there are no kinks, bends, or external obstructions preventing water flow.
- Test House Water Pressure: If other faucets in your kitchen also have low water pressure, the issue might be with your home’s main water supply, not the dishwasher itself.
|
Our Picks for the Best Dishwasher in 2026
As an Amazon Associate I earn from qualifying purchases.
|
||
| Num | Product | Action |
|---|---|---|
| 1 | Cascade Platinum Plus Dishwasher Pods, Dish Detergent Soap, Clean Scent, 62 Count |

|
| 2 | Cascade Complete Dishwasher Pods - Fresh Scent ActionPacs, Dishwasher Detergent, Dishwasher Soap, Detergent Pods, 78 Count |
|
| 3 | COMFEE’ Portable Mini Dishwasher, Energy Star, Countertop, 6 Place Settings, with 8 Washing Programs, Speed, Baby-Care, ECO& Glass, Dish Washer for Dorm, RV& Apartment, White |
|
| 4 | Sharp SDW6504MS Stainless Steel Dishwasher, 24-inch Pocket Handle, 52 dB, Hybrid Tub, 12 Place Settings, 5 Cycles, Heated Dry |
|
| 5 | EUHOMY Countertop Dishwasher Portable with 6 Programs, 5L Built-in Water Tank for Apartments & RV, 167℉ High-Temp, No Hookup Needed, Mini Dishwasher with Baby Care, Air Dry/Quick/ECO/Fruit/Normal Mode |
|
| 6 | Honeywell 18 Inch Dishwasher with 8 Place settings, 6 Washing Programs, Stainless Steel Tub, UL/Energy Star- Black |
|
| 7 | BLUELAND 100% Plastic-Free Dishwasher Detergent Tablets, 60 Count, Free & Clear, Eco-Friendly Dishwashing Pods, Natural, USDA Certified biobased |
|
| 8 | Kenmore 24" Premium Hybrid Tub Dishwasher - UltraWash, MoreSpace Adjustable Rack, High Temp & SmartWash - 12 Place Settings - 54 DBA - ENERGY STAR Certified - Fingerprint Resistant Stainless Steel |
|
| 9 | COMFEE’ Countertop Dishwasher, Energy Star Portable Dishwasher, 6 Place Settings & 8 Washing Programs, Speed, Baby-Care, ECO& Glass, Dish Washer for Dorm, RV& Apartment, Black |
|
| 10 | Cascade Complete Dishwasher Detergent Liquid Gel, Dish Detergent, Dishwasher Soap, Citrus, 75oz |
|
Ensure the Door is Fully Latched
As a safety feature, dishwashers will not begin a cycle or fill with water unless the door is securely closed and latched.
- Close Firmly: Push the dishwasher door firmly until you hear a distinct “click,” indicating it’s latched.
- Inspect the Latch Mechanism: Visually check the door latch assembly on the top or side of the door and the strike plate on the dishwasher frame. Look for any signs of damage, wear, or misalignment that might prevent a secure closure.
Inspect the Float Switch (Overfill Protection)
The float switch is a small plastic or styrofoam cup-like component, usually located at the bottom of the dishwasher tub, typically in one of the front corners.
- Locate the Float: It’s designed to rise with the water level.
- Check for Obstructions: If the float is stuck in the “up” position, the dishwasher’s control system will believe the tub is already full and prevent further water from entering. Food debris, detergent residue, or even a small utensil can get lodged underneath it.
- Gently Push Down: With the power off, gently press down on the float to ensure it moves freely and isn’t stuck. Clear any visible debris.
Examine the Drain Hose Position
While primarily for draining, an improperly installed drain hose can sometimes lead to siphoning, which might affect initial water fill.
- Proper Air Gap/High Loop: Ensure the drain hose has a high loop (at least 20 inches above the floor or subfloor) or is connected to an air gap device. This prevents water from continuously siphoning out of the tub as it attempts to fill. Consult your dishwasher’s manual for the correct setup.
Investigating the Water Inlet Valve
If the basic checks don’t resolve the issue, the water inlet valve is often the next culprit. This component is crucial for allowing water into the machine.
What the Water Inlet Valve Does
The water inlet valve is an electrically operated solenoid valve that opens and closes to control the flow of water into the dishwasher. When the control board signals for water, the valve opens; otherwise, it remains closed. It usually has a small filter screen to prevent debris from entering the dishwasher.
Symptoms of a Faulty Valve
- Dishwasher Hums But Doesn’t Fill: This is a classic sign. The control board is sending power to the valve, but it’s either mechanically stuck or electrically failed, preventing water flow.
- No Water at All: If the valve is completely unresponsive, no water will enter.
How to Inspect and Test the Valve (Advanced)
- Locating the Valve: The water inlet valve is typically found behind the lower access panel of your dishwasher, where the water supply line connects. You’ll need to pull the dishwasher slightly out from the cabinet or remove the kick plate to access it.
- Check for Visible Damage: Inspect the valve body for cracks, leaks, or corrosion.
- Inspect the Filter Screen: Carefully disconnect the water supply line from the valve (with water supply off and towels ready for drips). Inside the valve’s inlet port, you’ll often find a small screen. If this screen is clogged with sediment or mineral deposits, it will restrict water flow. Clean it gently with a brush or toothpick.
- Test for Continuity (with a Multimeter):
- Ensure the dishwasher’s power is OFF.
- Disconnect the electrical wires from the inlet valve’s solenoid terminals.
- Set your multimeter to the Rx1 setting (resistance/ohms).
- Touch the multimeter probes to the two terminals of the solenoid.
- A working valve should show a resistance reading, typically between 500 and 1,500 ohms, depending on the model. If you get an open circuit (infinity or “OL” for overload), the solenoid is faulty, and the valve needs replacement.
If the water inlet valve is faulty, it will need to be replaced. This is a common repair and parts are widely available for most brands.
Troubleshooting the Door Latch and Interlock Switch
Beyond a simple latch, modern dishwashers include an interlock switch (or multiple switches) integrated into the door latch assembly.
Beyond a Simple Latch: The Door Switch
These switches communicate with the control board, confirming that the door is not just closed, but also securely locked. If the interlock switch is faulty or the latch isn’t making proper contact, the dishwasher’s safety system will prevent it from starting or filling with water, even if the door appears closed.
- Visual Inspection: Carefully examine the door latch mechanism and the switches integrated within it. Look for broken plastic, loose wires, or corrosion.
- Listen for Activation: When you close the door, you might hear a faint click from the switch engaging.
Addressing Clogged Filters and Debris
While more commonly associated with poor cleaning performance, severely clogged internal filters can sometimes indirectly impact water sensing or flow.
Internal Filters and Their Impact
Dishwashers have several filters (coarse, fine, and sometimes a main filter or sump filter) designed to catch food particles and prevent them from recirculating. If these become excessively clogged, they can sometimes lead to issues where the machine struggles to correctly sense water levels or creates back pressure that interferes with the fill cycle.
- Location: Most filters are located at the bottom of the dishwasher tub, often under the lower spray arm. Refer to your owner’s manual for exact locations.
- Cleaning Procedure: Remove the filters according to your manual’s instructions (usually a simple twist and lift). Rinse them thoroughly under running water, scrubbing away any trapped food particles or grease with a soft brush. Reinstall them securely.
Resetting Your Dishwasher’s Control System
Sometimes, an electronic glitch in the control board can cause your dishwasher to misbehave. A simple reset can often clear these temporary errors.
- Perform a Hard Reset: Turn off the power to the dishwasher at the main circuit breaker for 1-5 minutes. Then, restore power. This is similar to restarting a computer and can resolve many minor electronic issues.
- Check Manufacturer’s Reset Procedure: Some dishwashers have specific reset sequences (e.g., pressing a combination of buttons). Consult your owner’s manual.
When to Call a Professional Appliance Repair Technician
While many dishwasher issues can be resolved with DIY troubleshooting, some problems require the expertise and specialized tools of a professional technician.
Consider calling a pro if:
- You’re Uncomfortable with Electrical Work: Testing components with a multimeter or replacing electrical parts requires caution and a basic understanding of electricity.
- The Issue Involves the Control Board: Diagnosing and replacing a faulty control board is complex and expensive, often best left to a professional.
- You’ve Tried Everything: If you’ve methodically gone through all the troubleshooting steps above and your dishwasher still won’t fill, it’s time for expert intervention.
- Brand-Specific Error Codes: Modern “smart” dishwashers often display error codes. While some manuals provide interpretations, others might require specialized diagnostic tools.
- Persistent or Intermittent Issues: If the problem recurs or is inconsistent, a technician can conduct a more thorough examination.
“Many dishwasher issues are simpler than they seem, often just a stuck float or closed water valve. However, don’t hesitate to call a certified technician if you encounter complex electrical problems or if the troubleshooting steps don’t yield a solution. Safety and proper function are paramount.” – John Appliance, Certified Appliance Repair Specialist
Preventative Maintenance Tips to Avoid Future Issues
A little proactive care can go a long way in preventing your dishwasher from refusing to fill with water again.
- Regular Filter Cleaning: Clean your dishwasher’s filters monthly or as recommended by the manufacturer to prevent food debris buildup.
- Inspect the Float Area: Periodically check around the float switch for any accumulated gunk or debris that could impede its movement.
- Check Water Supply Lines: Occasionally inspect the water supply hose for kinks, leaks, or signs of wear.
- Use Proper Detergent: Use only dishwasher-specific detergent in the correct amounts to prevent residue buildup that can interfere with components.
- Avoid Overloading: Overloading can sometimes prevent proper water circulation and drainage, potentially affecting sensors.
Conclusion
A dishwasher not filling with water can quickly throw a wrench into your kitchen routine, but armed with the right knowledge, it’s a problem you can often tackle yourself. By systematically checking your water supply, door latch, float switch, and water inlet valve, you can pinpoint the issue and implement a solution. Remember to prioritize safety by always disconnecting power and water before starting any work.
Whether it’s a simple flick of a valve or the replacement of a key component, taking these steps can restore your dishwasher’s functionality, ensuring your dishes emerge sparkling clean every cycle. Don’t let a “no fill” problem leave you hand-washing; empower yourself with these troubleshooting techniques. What other dishwasher challenges have you faced and conquered?
Frequently Asked Questions
Why does my dishwasher hum but not fill with water?
If your dishwasher hums but doesn’t fill, it often indicates that the control board is sending power to the water inlet valve, but the valve itself is either mechanically stuck or electrically faulty. Inspect the valve’s filter for clogs or test its continuity with a multimeter to confirm if it needs replacement.
Where is the water inlet valve on a dishwasher?
The water inlet valve is typically located behind the lower access panel or kick plate of your dishwasher, usually at the bottom front. It’s where the main water supply line from your house connects to the appliance. You may need to gently pull the dishwasher out slightly to access it.
Can a clogged drain hose prevent a dishwasher from filling?
While less common as a direct cause, an improperly positioned or clogged drain hose can sometimes lead to issues. If the drain hose is siphoning water out during the fill cycle, the dishwasher may struggle to reach the proper water level or continually try to fill. Ensure it has a high loop or an air gap.
How do I test a dishwasher float switch?
To test a float switch, first, ensure the dishwasher’s power is off. Locate the float (a plastic or styrofoam cap) at the bottom of the tub. Gently press down on it to confirm it moves freely without sticking. If it’s stuck in the “up” position, clear any debris underneath it.
Is it safe to open a dishwasher mid-cycle to check for water?
Yes, it is generally safe to briefly open a dishwasher mid-cycle to check for water, as most modern machines will automatically pause or stop when the door is opened. However, be cautious of hot water and steam. Close the door firmly to resume the cycle.
How often should I clean my dishwasher’s filters?
It is generally recommended to clean your dishwasher’s filters at least once a month, or more frequently if you often wash heavily soiled dishes or notice food particles remaining after a cycle. Regular cleaning helps maintain optimal performance and prevents clogs.